Home/Process
Process
From block to your project
Six steps take Breccia Aurora from a quarry block to a finished floor, wall or vanity. Each one is where the colour, strength and fit of your stone are decided, and at each one you can ask us for photos.
01
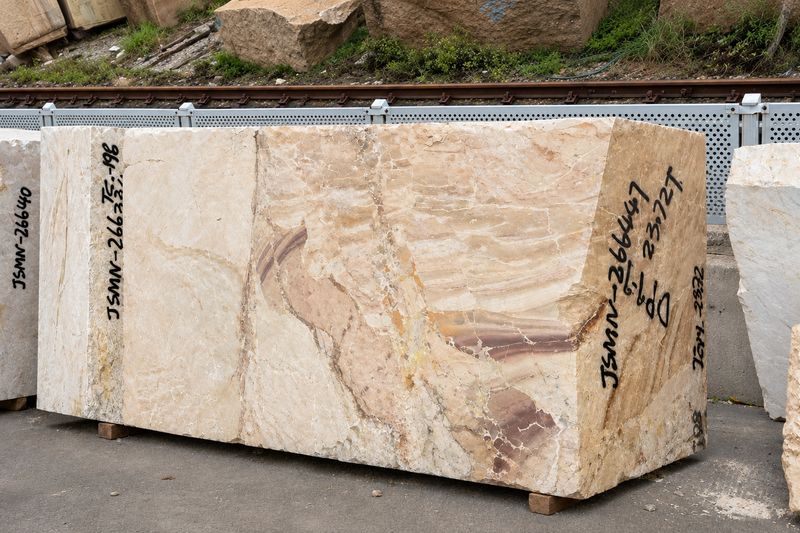
Block selection
Every slab starts as a numbered block, chosen for colour and soundness.
Read more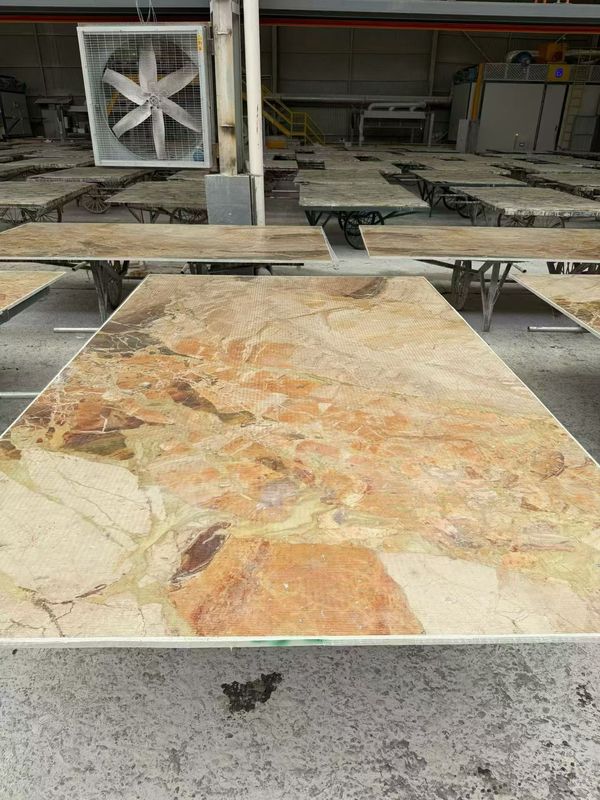
02
Resin & mesh reinforcement
Resin fills natural pores and fine fissures; fibreglass mesh strengthens the back.
Read more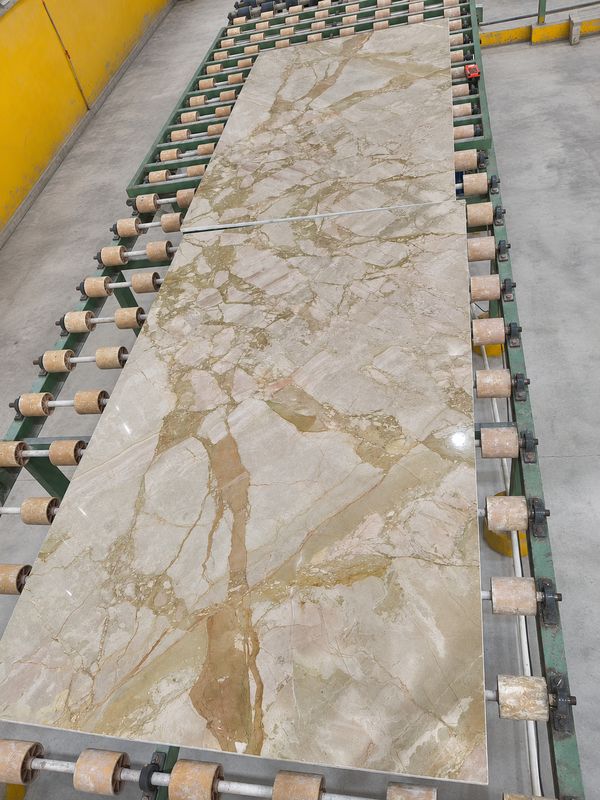
03
Polishing & finishing
An automatic line brings each slab to polished, honed, matt or leathered.
Read more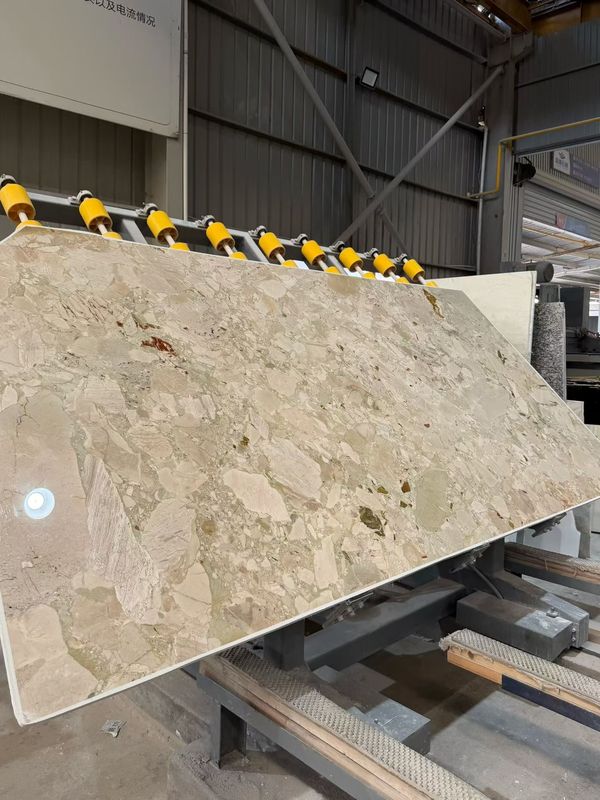
04
Quality inspection
Every slab is checked, measured, photographed and numbered before it is offered.
Read more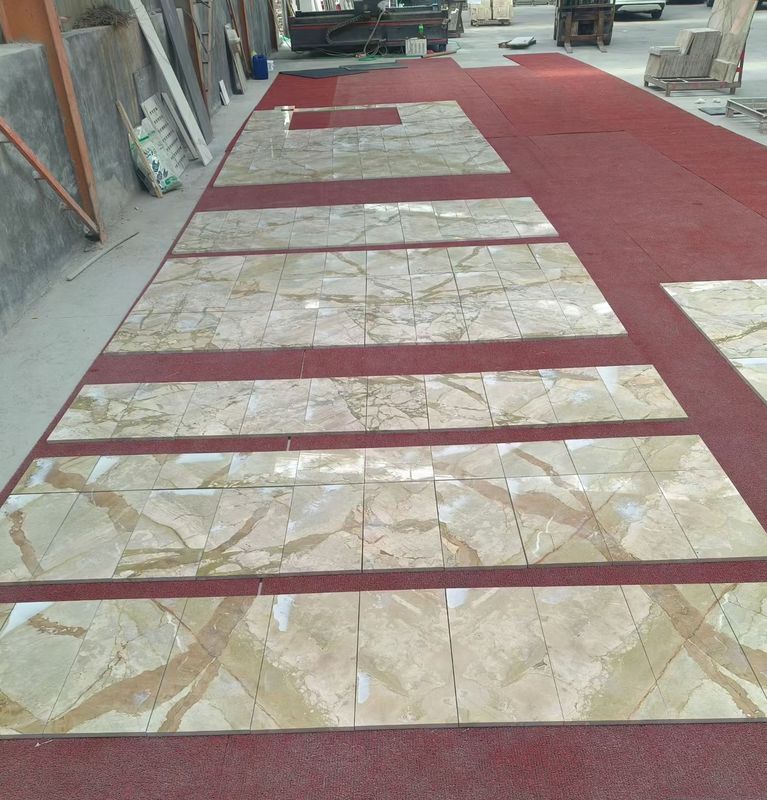
05
Tile dry-lay
Cut tiles are laid out in sequence on the floor, so the pattern flows.
Read more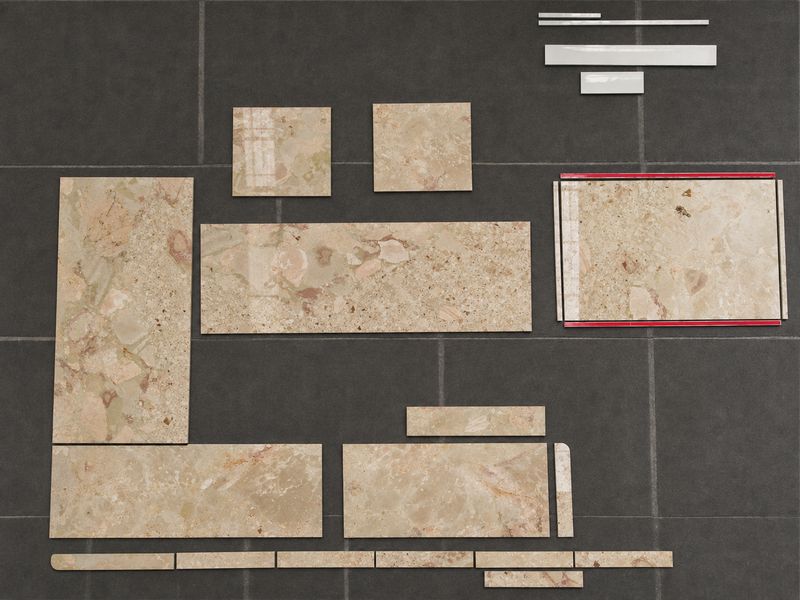
06
Project layout
Vanity tops, skirting, sills and trims cut to your drawing and checked together.
Read more